Installation and setup
Requirements
| Requirement | Details |
|---|---|
| Home Assistant | 2026.8 or newer |
| Autodarts board | Set up and working in the Autodarts Board Manager: Board Manager 2, Autodarts 2 without a screen (headless, recommended, tested up to 2.0.2), or the classic Board Manager 1. A player reports that Autodarts Desktop 2.0.2 on Linux works too. Autodarts Desktop on Windows and the Winmau Autodarts devices such as Autodarts X or Lens have not been tested yet; please report how it works with yours |
| Network | Home Assistant reaches the board PC on the local network, TCP port 3180 by default |
| Without Autodarts | Any dartboard: you enter the darts on a keypad, see Play without Autodarts; it needs neither a board PC nor a network to the board |
| Optional: cloud match data | An Autodarts account and an OAuth client ID that Autodarts issues for this integration (see cloud link) |
The integration needs no Autodarts login, password or API key for local use. It never changes your board's registration with Autodarts.
Install
With HACS (recommended)

- Open HACS in Home Assistant.
- Open the menu (⋮) → Custom repositories, add
https://github.com/Dennis-Otto/ha-autodartswith the type Integration, and select Add. - Search for Autodarts, open it and select Download.
- Restart Home Assistant.
HACS shows new versions as an update in Settings → Updates. The update dialog shows the release notes. HACS installs the signed release package autodarts.zip, the same file as a manual installation.
Betas for testers
Every change for users becomes a beta of the next release a few minutes after it reaches main, such as 1.10.0-beta.2. To test them, open Settings → Devices & services → HACS, select the device Autodarts, enable its entity Pre-release, which HACS adds switched off and disabled, and turn it on. HACS then offers every beta as an update, with its notes; turn the switch off, and the next release brings you back. A beta may have faults that the release won't: please report them in a tester report.
Manually
- Download
autodarts.zipof the latest release from GitHub. It holds the files of the integration, without a folder around them. - Create the folder
custom_components/autodartsin your Home Assistant configuration and unpack the file there. The result isconfig/custom_components/autodarts/manifest.json. - Restart Home Assistant.
The release workflow signs every package: gh attestation verify autodarts.zip --repo Dennis-Otto/ha-autodarts checks with the GitHub CLI that it was built from this repository, see signed release packages.
Add your board

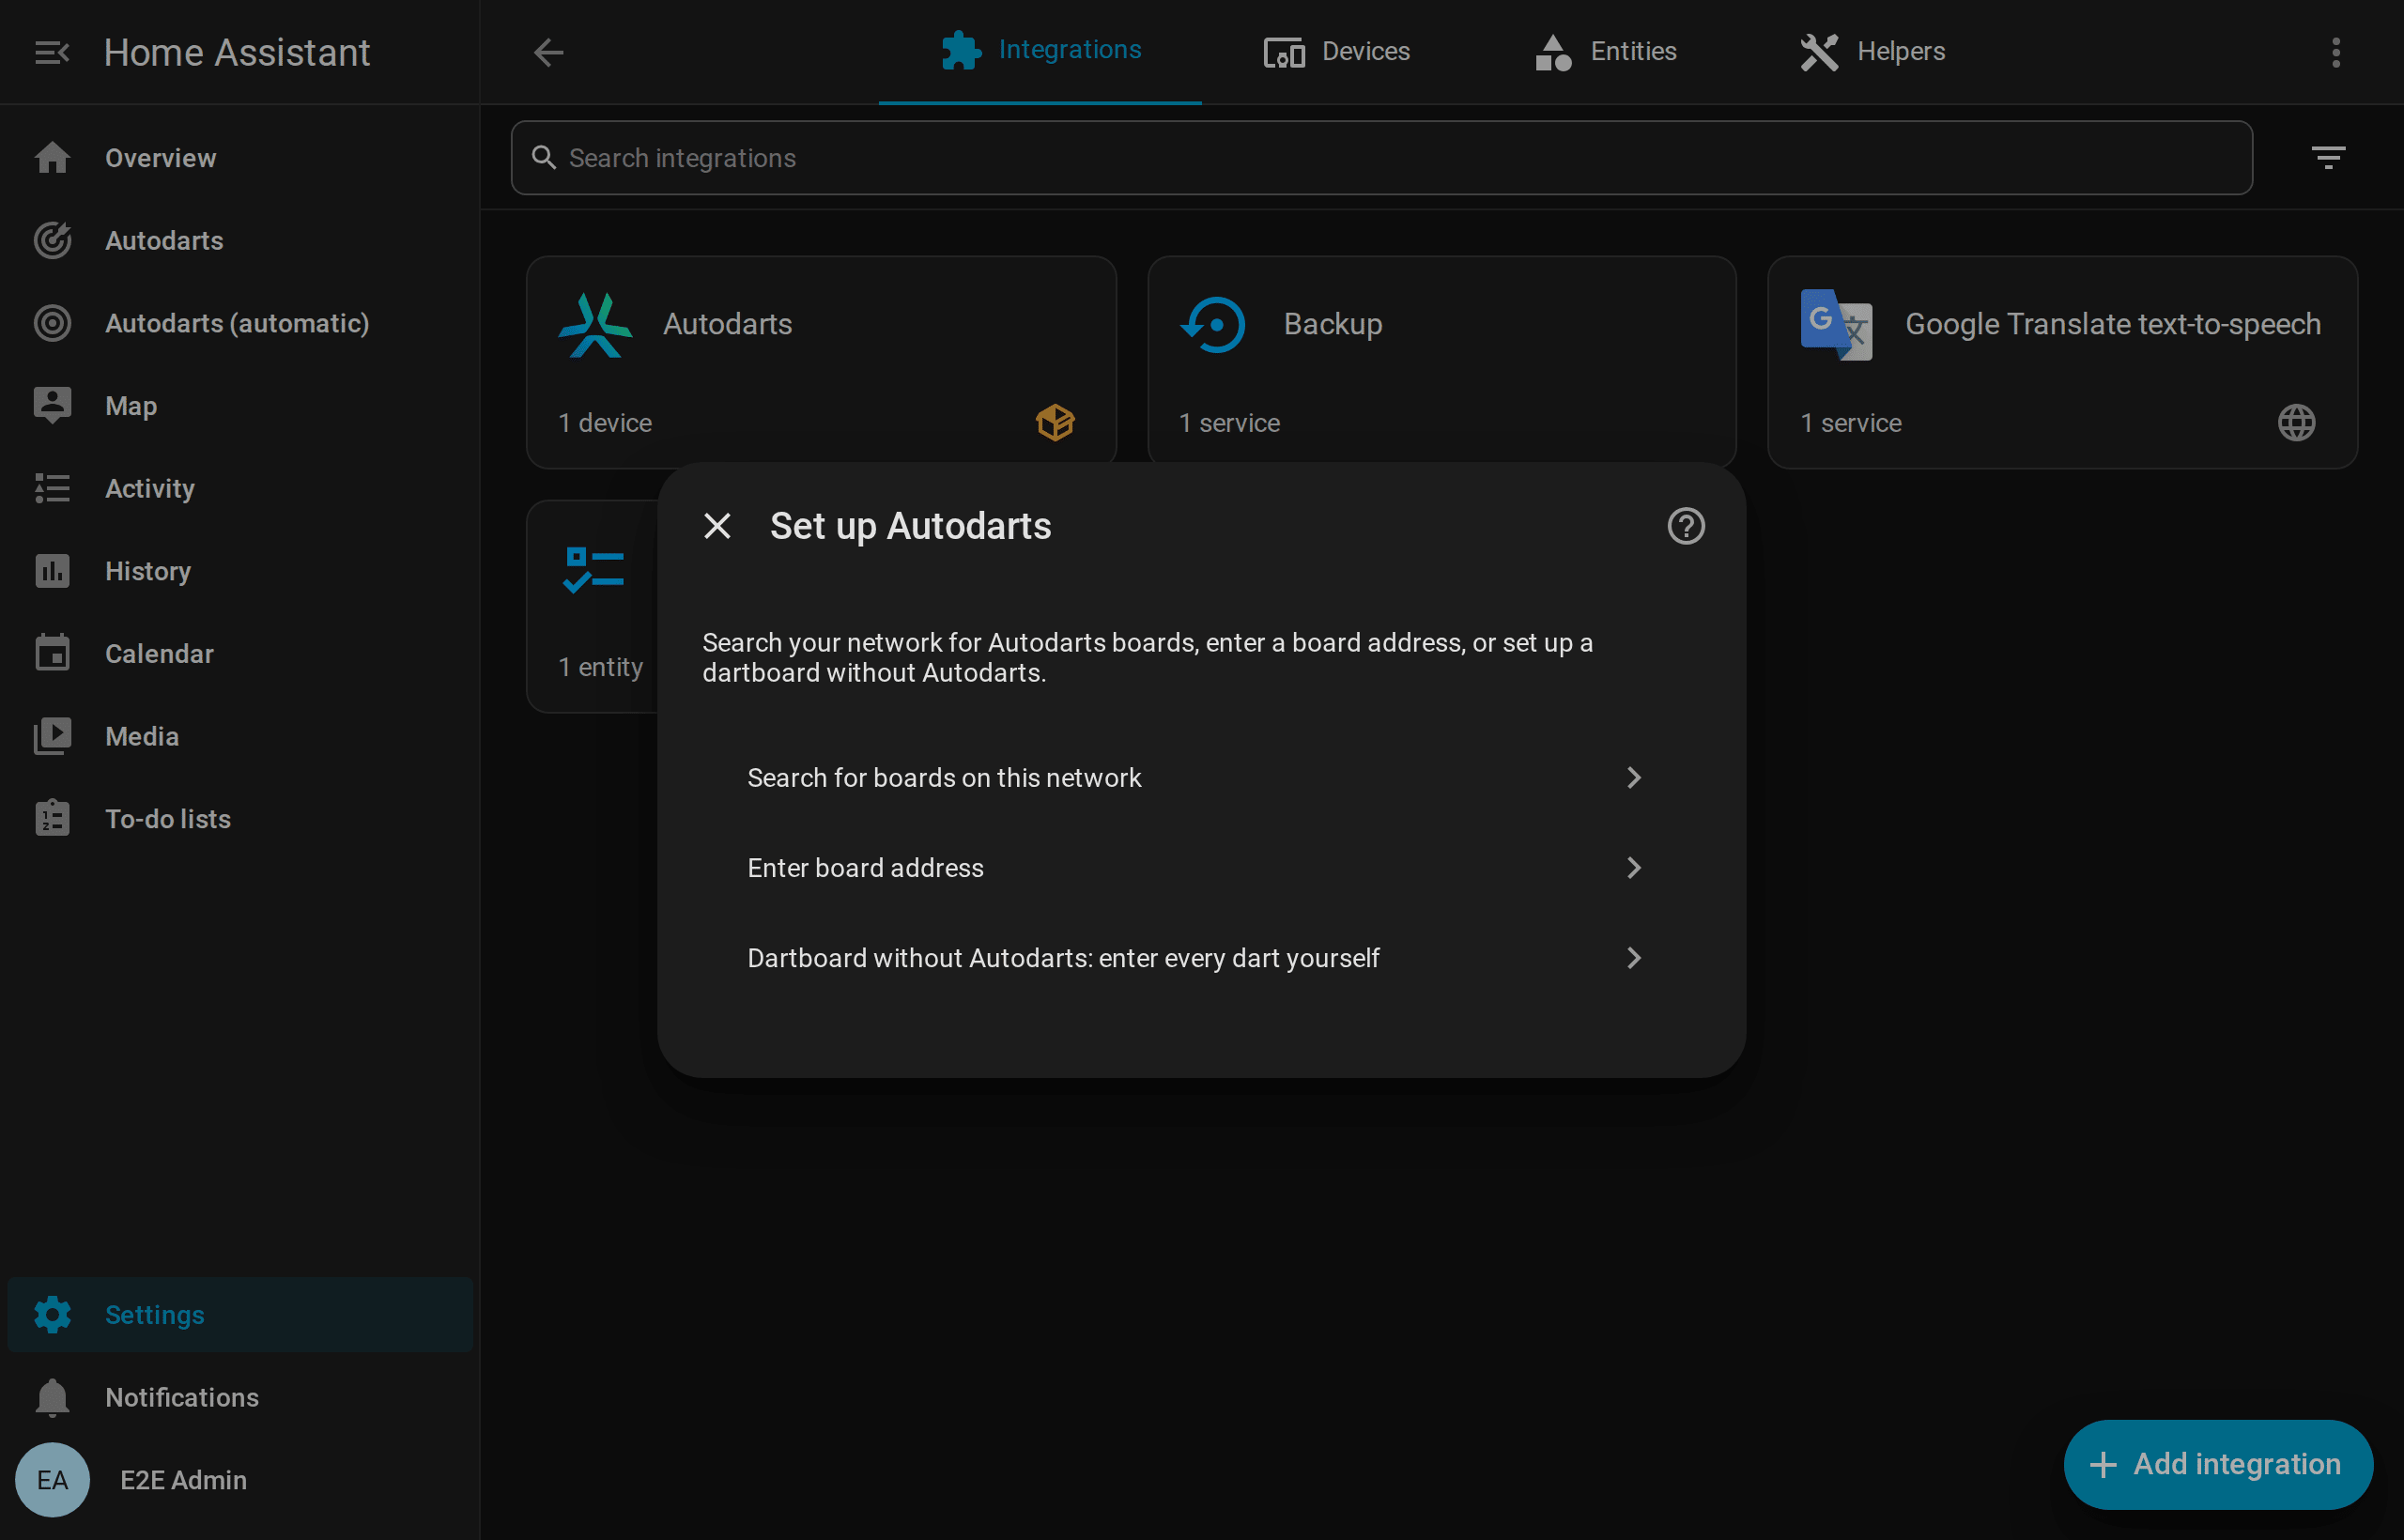
There are three ways to add an Autodarts board. All of them end with the same, fully local board. A fourth adds a dartboard without Autodarts.
1. Automatic discovery (Board Manager 2)
Board Manager 2 announces itself on the network (mDNS, _autodarts-board._tcp). Home Assistant then shows Autodarts board found under Settings → Devices & services → Discovered. Select Add and confirm. The dialog names the address, the Board Manager version and the number of cameras.
If the board later gets a new IP address, the announcement updates the configured address automatically.
2. Search for boards on this network
Choose Search for boards on this network. The integration asks the public Autodarts discovery service, which the Board Manager app uses as well, which boards are registered from your internet connection. Pick your board, and the integration connects to it locally. The entry and the device take the name the board has in Autodarts.
The discovery service sees your public IP address, like any website. Nothing else is sent. If the service is unavailable or finds no new board, the address form opens instead.
3. Enter the board address
Choose Enter board address and enter the IP address or host name of the board PC, for example 192.0.2.10 or autodarts.local, without http:// and without a port. The port is normally 3180.
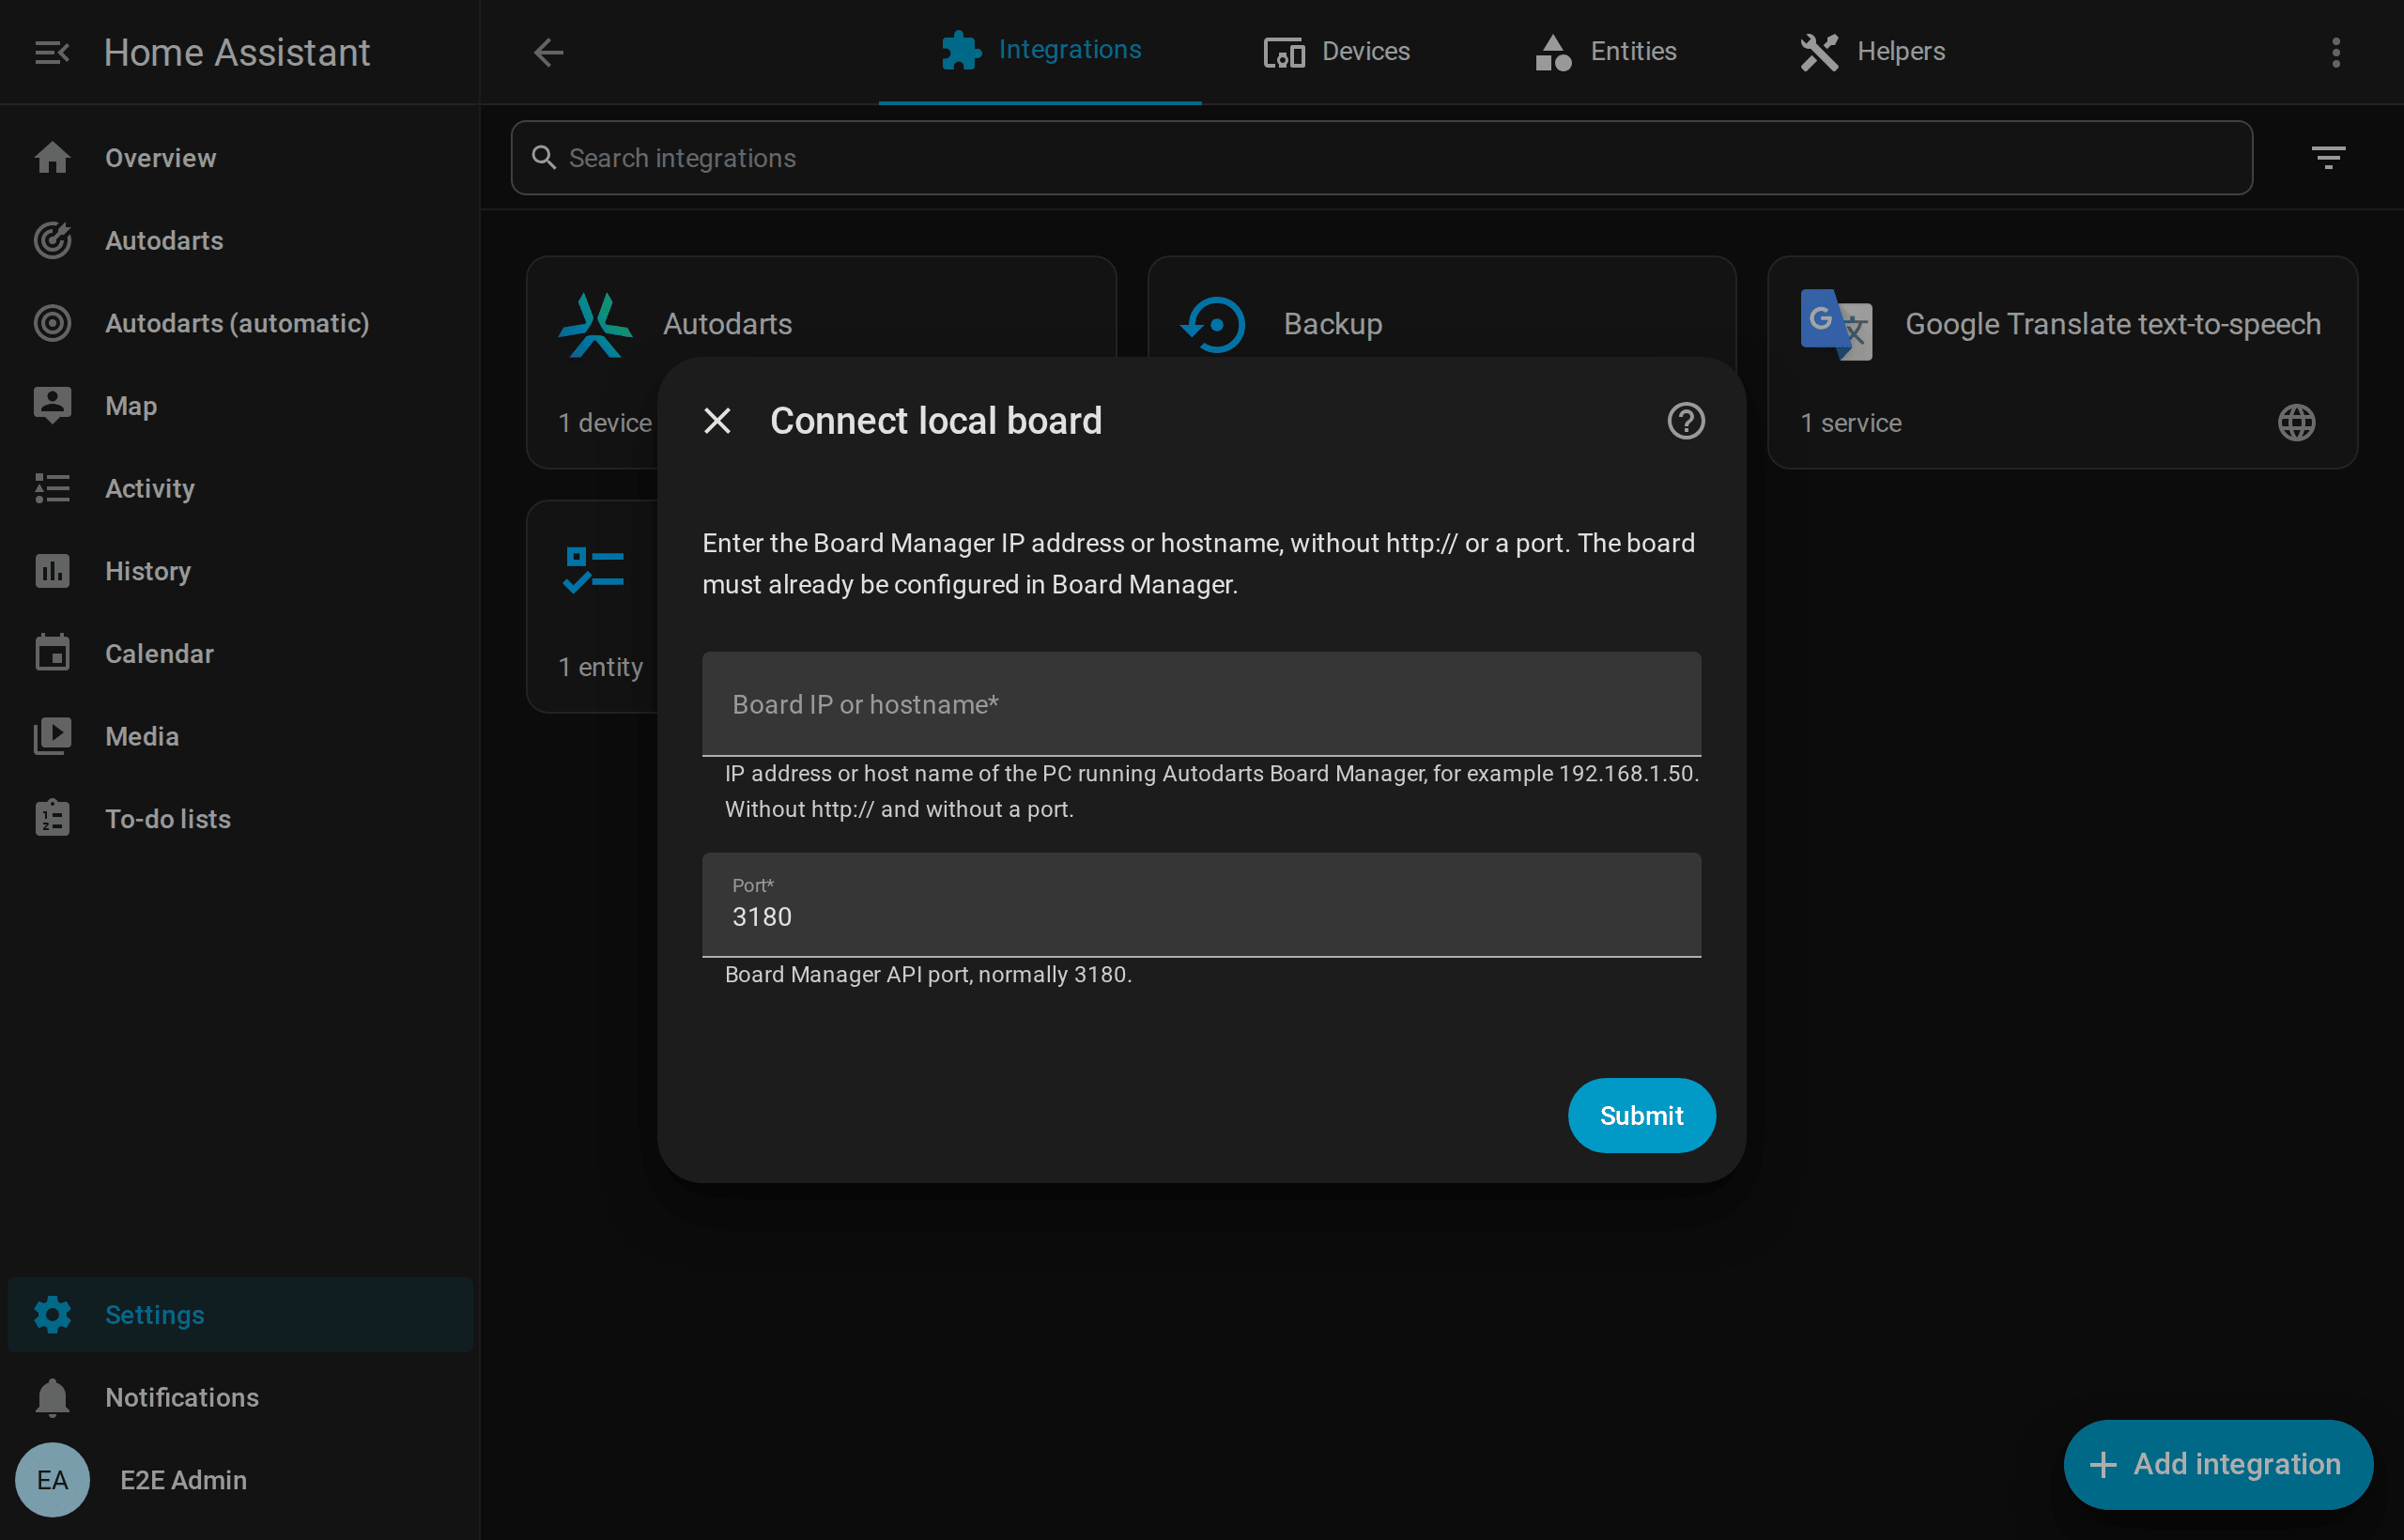
The integration reads the board ID from the Board Manager. It rejects addresses that are not reachable or that have no board set up yet.
Tip: give the board PC a fixed IP address in your router. With Board Manager 2, discovery keeps the address up to date anyway.
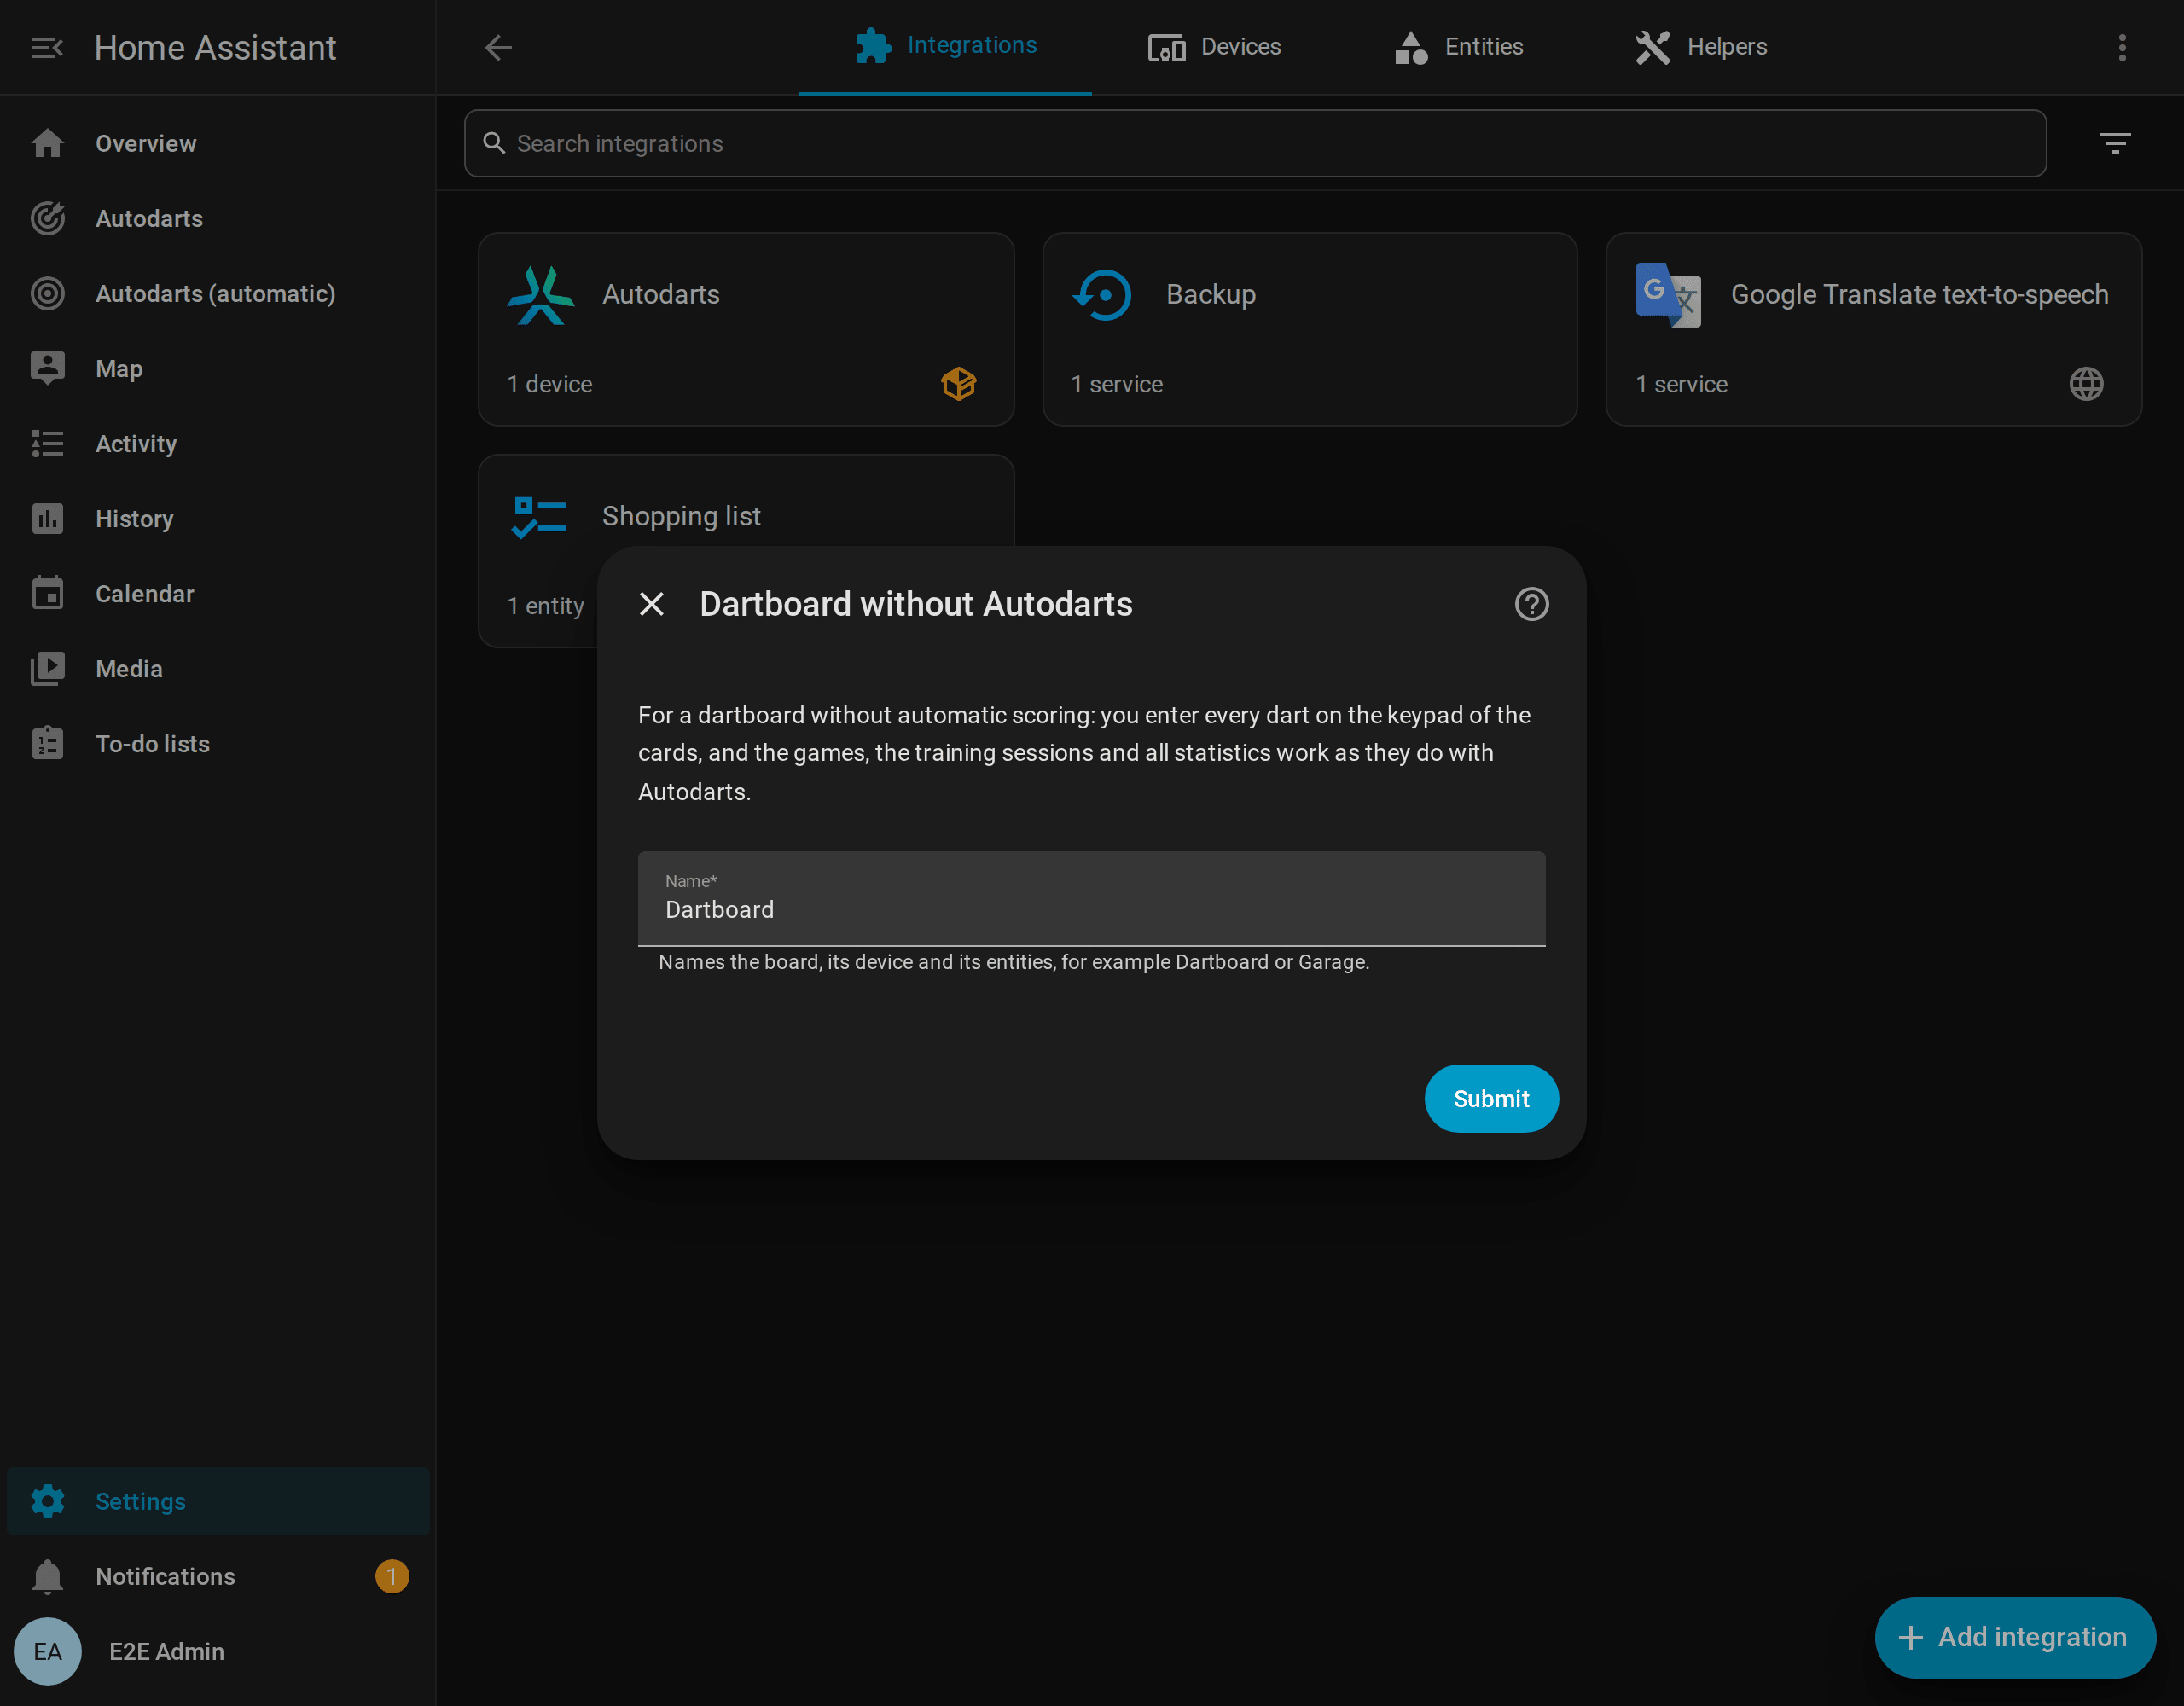
4. A dartboard without Autodarts
Choose Dartboard without Autodarts: enter every dart yourself and give the board a name, such as Garage. You enter its darts on the keypad of the live card and the scoreboard, and the games, the training and the statistics work as with Autodarts; Play without Autodarts explains it all. A home may have several of them, beside Autodarts boards, and each can get its Autodarts board later.
After setup
Home Assistant creates one device, named after your board, with all entities. For a dashboard with everything, go to Settings → Dashboards → Add dashboard → Autodarts, as the dialog at the end of the setup says: the automatic dashboard builds its views from your boards. On a dashboard of your own, the cards appear under Add card → Autodarts; see the card guide.
Link the Autodarts cloud (optional)
Linking your Autodarts account adds cloud match data: game mode, match state, round, visit score and darts thrown. Local control does not depend on it and keeps working if the cloud is unreachable or the login expires.
Status: linking needs a public OAuth client ID with device authorization that Autodarts issues for this integration. It has been requested and is not bundled yet. Until then, setup and Reconfigure do not offer the cloud link. Everything local works without it.
How it will work once the client ID is available:
- Choose Link cloud account during setup, or Reconfigure → Link cloud account on an existing board.
- Home Assistant shows a code such as
ABCD-EFGHand a link. Open the link on any device, sign in to Autodarts and approve the code. - Home Assistant continues on its own. If your account has several boards, choose one.
Home Assistant never sees your password. Tokens refresh automatically. If a login expires or is revoked, Home Assistant asks you to re-authenticate, and local control keeps working meanwhile.
Reconfigure
Open Settings → Devices & services → Autodarts, select the board's menu (⋮) → Reconfigure. You can:
- search for the board again or enter a new address, for example after a network change;
- add or renew the cloud link, once it is available;
- connect the Autodarts board that a dartboard without Autodarts got, which keeps its games and statistics.
The board, its entities, their history and your dashboards stay as they are. The integration refuses an address or account that belongs to a different board.
Update from Board Manager 1 to Board Manager 2
Autodarts replaces the classic Board Manager with the headless Board Manager 2 and will turn the old one off once most players have migrated. Home Assistant shows a repair notice as long as a board runs Board Manager 1.
- Install Board Manager 2 on the board PC as described by Autodarts.
- Keep the integration as it is. It detects the new generation on the next read, reloads itself and adds the new entities: the cloud link, CPU and memory, the operating system, processor and detection software of the board PC, and the Board Manager update. Enabled camera entities switch from snapshots to the live stream.
- Entities that only Board Manager 1 has, the cloud link switch and its connect and disconnect buttons, are removed automatically.
Your training session, entity IDs and dashboards are kept. What a player noticed on the board PC itself on the way, such as cameras to choose again, is under From Autodarts 1.x to 2.x.
Update from the original integration
This integration uses the same autodarts domain as Trkal/HACSAutodarts, so only one of them can be installed.
- In HACS, remove the original repository and add this one, as described under Install. Alternatively, replace
config/custom_components/autodartsmanually. - Restart Home Assistant and keep the existing entry in Devices & services.
Entries of the first version, which stored an address or an account password, are migrated automatically, and the password is deleted. If the board is switched off during the update, the migration is retried at the next start. Entries that used the retired Autodarts login keep working locally. If such an entry has no board address, Home Assistant asks you to enter it with Reconfigure.
Remove
- Settings → Devices & services → Autodarts, open the board's menu (⋮) and select Delete. This also deletes everything the integration stored for the board: the training sessions, the practice game, the personal bests, the player profiles with their match history and doubles, the weekly report, the training calendar and the repair notices. Export what you want to keep with
autodarts.exportfirst. Highlight photos and exports stay where they are. - To uninstall the code: in HACS, open Autodarts and select Remove. For a manual installation, delete
config/custom_components/autodarts. - Restart Home Assistant. The dashboard cards disappear with the integration. Remove dashboard cards and automations that use them.
The integration changes nothing on the board, so the board keeps working as before.